Looking back on ’13

2013 was a great year for me in many ways – I graduated AND got married! – but there were lots of sad and stressful times too.  I’m looking forward to this year being a little more quiet and easy-going, once we finally get settled!

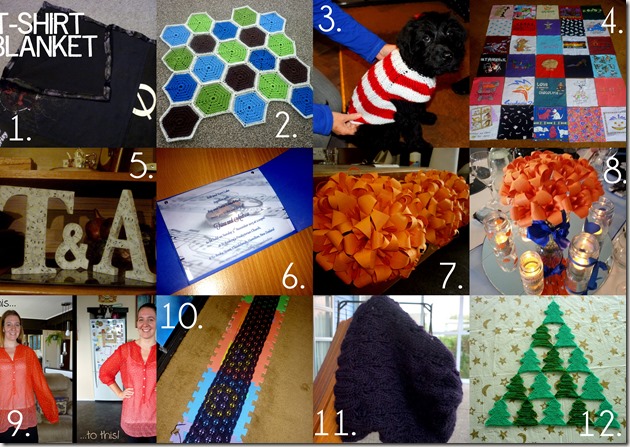
Crafts – As I always do, here is a look back at the crafts I got through in the last 12 months:

2013121

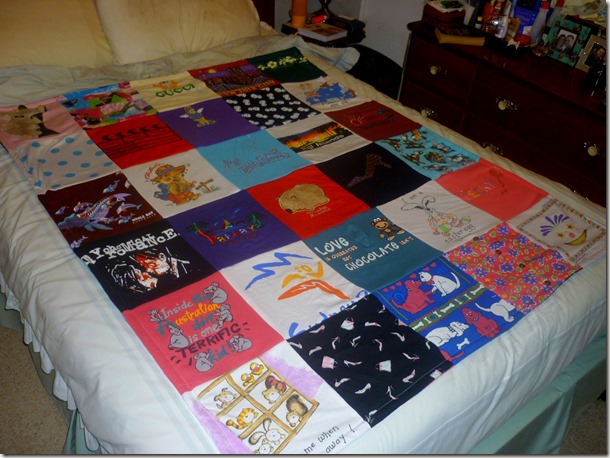
1. Andrew’s T-shirt blanket
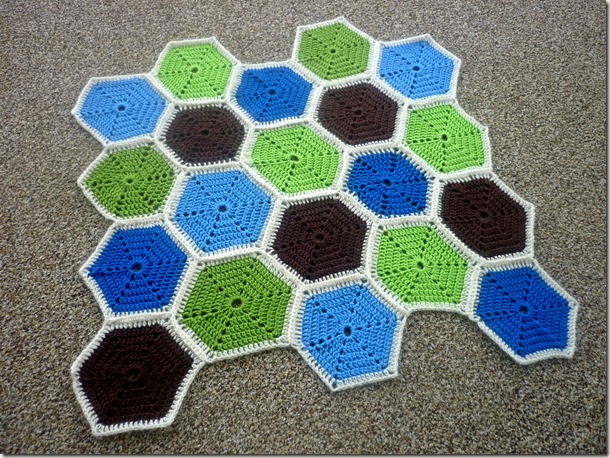
2. Crochet hexagon blanket (still in progress)
3. Puppy jumper
4. Bec’s T-shirt blanket
5. T&A sign for the head wedding table
6. Wedding invitations
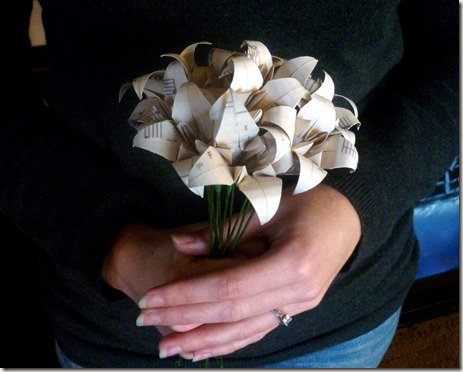
7. Origami flowers – about 200 of them!
8. Wedding table centrepieces – all the jars were decorated with cut-outs, ribbons, sheet music and candles
9. Red shirt refashion
10. Travelling leaves scarf
11. Travelling leaves hat
12. Knitted Christmas tree

Food – I didn’t do a lot of exciting cooking last year while I was living with my parents, but I have a few new favourite recipes that I tried out that I’ll be sharing with you soon.

Reading – I read a pitiful 4 BOOKS. That’s terrible for me! I blame it on the distracting TV in my room!  2014 is already better, but more on that next time.

Wedding – It’s all over, and it feels like it was a really long time ago!  My hands still feel like they need to be making flowers, and I still check my emails more often than I should expecting to hear from vendors, but that will lessen over time! If you haven’t already, go and have a look at some of the photos.  I’m well and truly over weddings now!

Life – Being away from Mr EP for the bulk of the year was a strange feeling, but thanks to Skype we were able to talk almost every night.  A couple of days after graduating we headed to Melbourne for Bec’s wedding, and my parents went away on a Hawaiian cruise for their 30th wedding anniversary! But as well as those exciting times, my family went to 4 funerals last year, (including the minister who ran our pre-marriage sessions and said grace at our wedding – he was taken far too soon…) which really is 4 too many.

Blogging – My top posts for 2013 were Origami Flowers (still at number 1!), DIY Butterfly Sleeve Tunic, DIY Jewellery Cleaner, DIY T-shirt Blanket, and Apple-Cinnamon Pancake Muffins.  I’m excited about a new style for my blog for 2014, which is in the works!

Farewell ‘13 – bring it on (gently…) ‘14!

Trina xo

Signature_thumb.jpg


You might also be inspired by:
Introducing Mr and Mrs EP!

As of next Tuesday, we’ve been married for one month!  Funny how time can go so fast and so slow at the same time.  We’re very much looking forward to our honeymoon in a few weeks, once Mr EP has finished the school year.

Our professional photos are being edited at the moment, but in the meantime I thought I would share with you some of my favourite photos from our special day, taken by some of our wedding guests.

Photo credit to 1928 Hudson (Vintage Car) Hire - http://www.hudsonhire.co.nz/
Getting excited! (Photo credit to 1928 Hudson Hire)

Photo credit to 1928 Hudson (Vintage Car) Hire - http://www.hudsonhire.co.nz/
Quick prayer time before it all begins (Photo credit to 1928 Hudson Hire)

Photo credit to LakeCam
Getting ready to dance down the aisle! (Photo credit to LakeCam)

Photo credit to LakeCam
Bridal party in the church, clicking away while my father-in-law plays the song he wrote (Photo credit to LakeCam)

M&Ds camera1
My beautiful maid-of-honour and bridesmaids (Photo credit to LakeCam)

Photo credit to LakeCam
You may kiss the bride! (Photo credit to LakeCam)

Photo credit to 1928 Hudson (Vintage Car) Hire - http://www.hudsonhire.co.nz/
Favourite pose with our vintage cars! (Photo credit to 1928 Hudson Hire)

Photo credit to Leanne Roughton - leanneroughton.tumblr.com
Our AMAZING peppermint chocolate mudcake from Stiletto Studio – Batman on one side, butterflies on the other, and cupcakes for everyone! (Photo credit to Leanne Roughton – leanneroughton.tumblr.com)

M&Ds camera
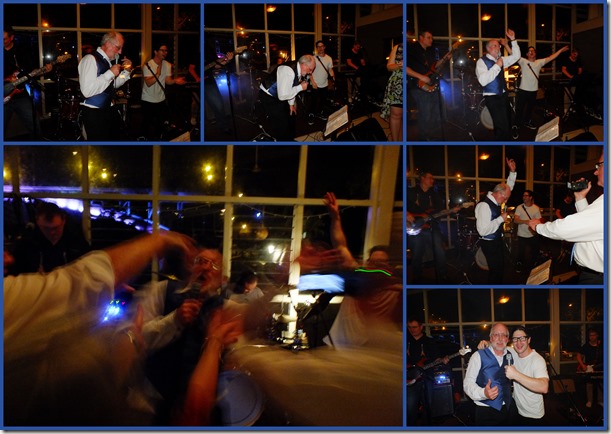
My dad having fun, taking over the band! (Photo credit to LakeCam)

Photo credit to Rosalie Liddle Crawford
Stealing a quiet moment outside (Photo credit to Rosalie Liddle Crawford)

Photo credit to LakeCam
Showing off our rings as we say goodnight! (Photo credit to LakeCam)

Back soon to show you the DIY details and other personal touches!  In the meantime, these and LOTS of other photos are on my Flickr page HERE – check them out!

εїз

You might also be inspired by:

Wedding update–invitations!

23 days to go!  I thought it was about time to post a quick update of what’s been going on.  All the big things have been booked for a while, so now we’re getting into the nitty gritty last minute details!  Still a couple of thank you gifts to buy, programmes to finalise and print, speeches to write, and cake order to finalise (that’s an easy one – being related to the ‘chief cakerator’ at Stiletto Studio and with a fiance who LOVES Batman, here’s a hint of what might be coming, especially now that it’s gone viral!), but lots of things being ticked off my list.

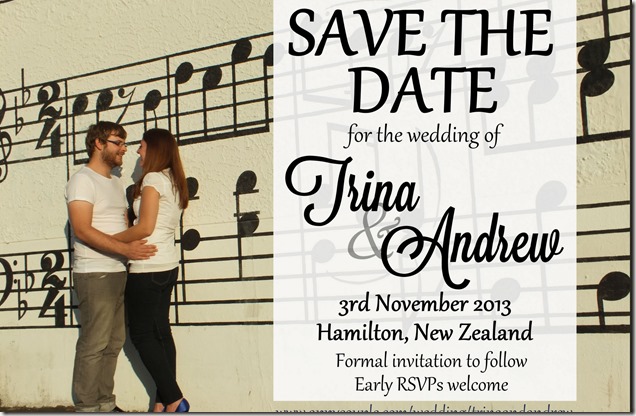
One of the biggest things was the wedding stationery!  Our ‘Save the Dates’ were relatively easy – we had some cool photos taken after my graduation outside a music shop, because their wall out the front was painted to look like sheet music.  All I had to do was add the text on the side, print them, and stick a little magnet on the back!

Wedding

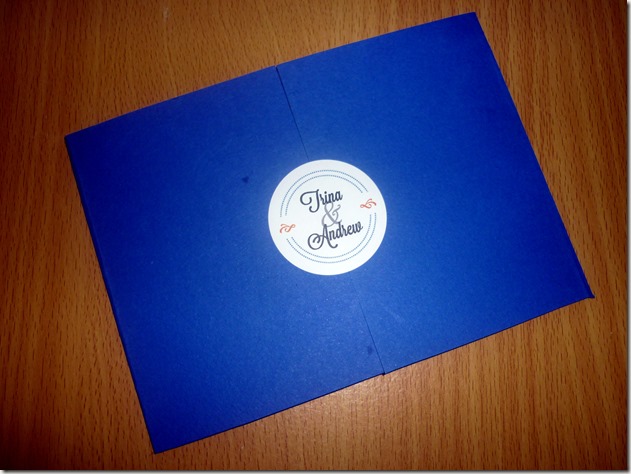
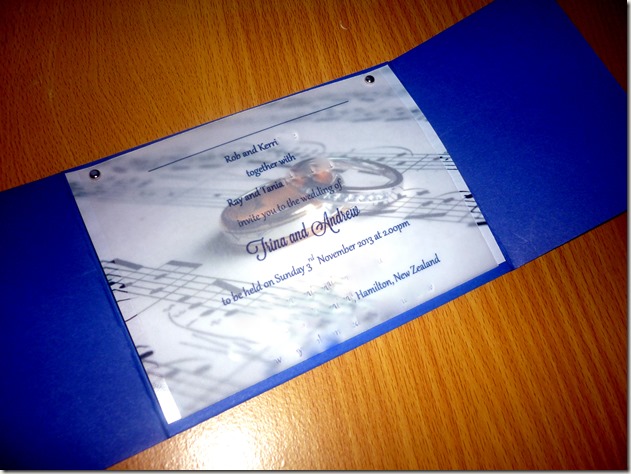
As for the invitations, early on I made the decision that I would make them all myself, but I must have been nervous about it because even though I’d finalised the design early this year, it took a long time to get started on them and they ended up going out later than we intended!  I completely love the way they came out in the end though, so it was worth all the stress.

P1050829

They are sealed on the front with a custom sticker from Vistaprint, with a little logo I made up that incorporated our colours.  Once you open up the flaps…

P1050830 - Copy

Again, more sheet music! Do you sense the theme yet? Smile The text is printed on a vellum sheet (a few printing issues added to the time delay and stress levels!!), which was attached to the photo and a little flap at the top with silver brads (split pins).  This is an idea that I’ve had for years, and although it took a bit of figuring out, I think it worked well in the end! Wait – there’s more, once you lift up the photo…

P1050831P1050832 - Copy

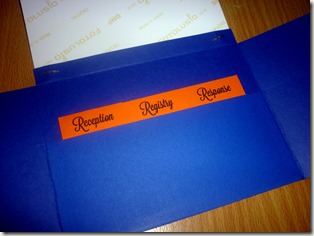
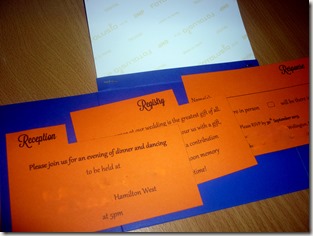
There’s a secret pocket hiding under there! It has little cards with tabs along the top, with details of the reception, our registry, and their response.  I’m really happy with the way that the invitations pull together the colours and themes of our wedding Smile

I think this was the biggest thing I’ve ticked off my list so far -it’s certainly a good feeling to get that out of the way!  If I manage to carve out some time in the next couple of weeks I’ve got another little crafty wedding project to show you – if not, I’ll be a Mrs next time we catch up!

εїз

Busy butterfly!

Although things have been a bit quiet on the blog, life has been pretty busy! With so much going on I thought I’d catch you up in one go.  SO – there’s been lots of…

  • Crocheting…

Making a hexagon blanket from this pattern.  No recipient in mind, just a good acrylic stash-busting project!  I plan on adding a border of cream hexagons to match the individual borders.

P1050790

  • Knitting…

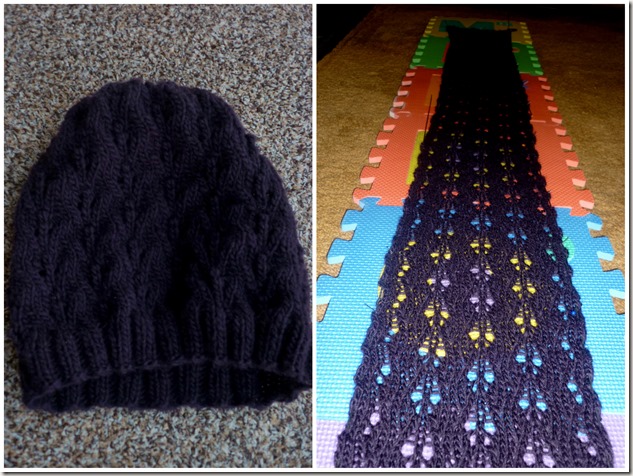
I made a hat to match this shrug pattern a couple of years ago, but it got snatched away by my sis almost as soon as it came off the needles! I finally got around to making myself another one, with a matching scarf.

Knitting 2013

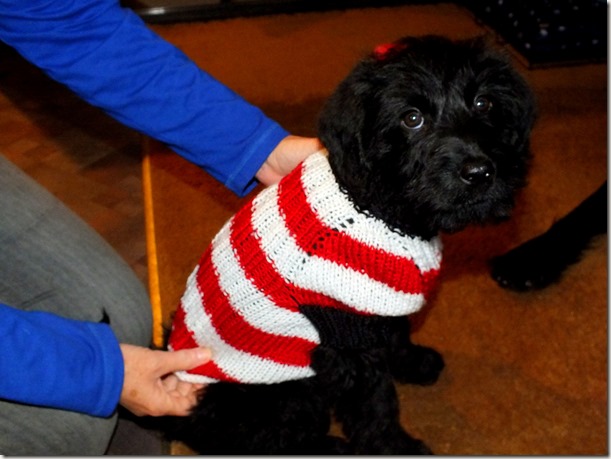
And this – since it’s getting pretty cold here, our new puppy has been feeling it!  More photos to come soon, but project details here.

DSCF9911

  • Reading…

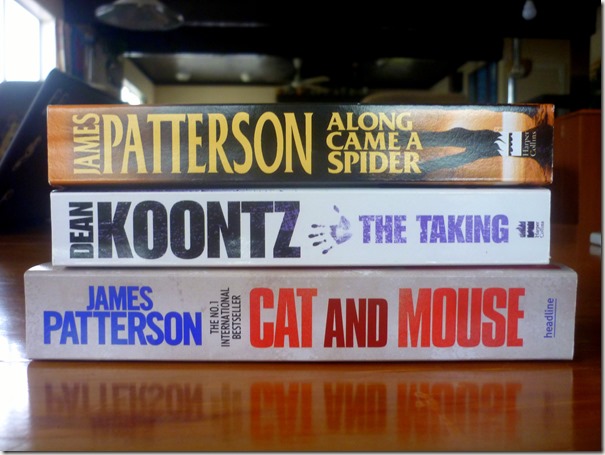
I got this pile of books from my almost-sister-in-law as a late birthday present! I’ve started on “Along Came A Spider” – great so far, as to be expected from one of my favourite authors.

P1050755

  • Sewing…

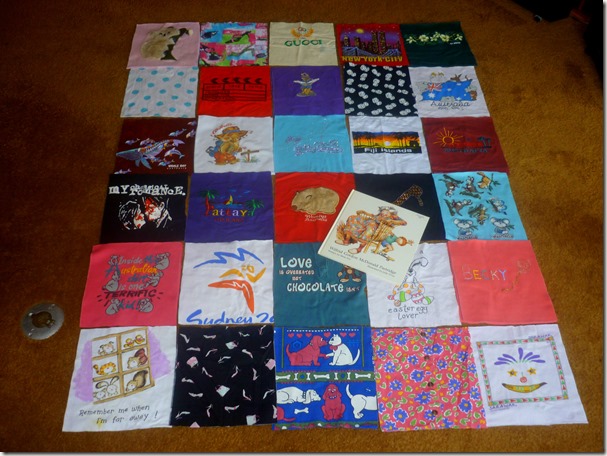
This t-shirt blanket has been on the books for ages! This was supposed to be a Christmas present for sis, then a birthday present, then Christmas present again the following year, and it’s finally been completed – and it was well received!

Pre-sewn: I used a favourite book from childhood as a template for cutting out all her childhood t-shirts…

P1050735

After sewing: I used a flannel blanket for extra padding in the middle, with a cute chunky hem, just the right size for a double bed!

P1050739

  • Wedding prep…

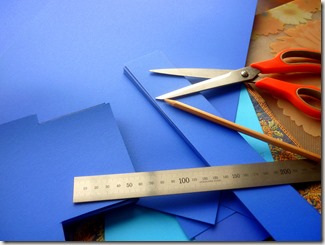
13 weeks to go, and still SO MUCH to do!  Much of my wedding is DIY, so there’s been lots of cutting…

P1050788

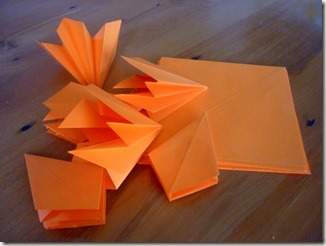
… folding…

P1050789

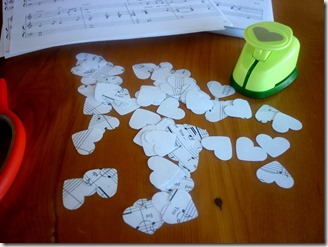
… and sheet music cut-outs!

P1050765

When things settle down a bit, I’d really like to take on another challenge and get into some style posts, but in the meantime, you can check out these favourites that I read all the time – they are great inspiration!

http://franish.blogspot.co.nz/
http://www.merricksart.com/
http://www.puttingmetogether.com/
http://refashionista.net/
http://www.workclothesisuppose.com/
http://www.ajwearsclothes.com/
http://www.bluepaperlanterns.com/

Or check out my “My Style” Pinterest board to see what I love!

εїз

PS: since it’s the beginning of the month I’ve updated my Popular Posts on the side bar – who knew my “Snapshots of my day” post would be my second most popular post in the last month! Should I do another one?

Tea-stained origami flowers

Time for some wedding talk! I mentioned a while ago that I wanted to go down the track of making origami flowers for the big day, rather than real flowers – because tiger lilies aren’t available in November unless you’re willing to pay big bucks for them!  It’s taking WAAAAY longer than I thought, but it will be completely worth it in the end.

The majority of the flowers will be orange, but to break up the bouquet a little I wanted to add in something extra to match the theme.  I still liked the idea of using sheet music, but the white paper seemed too bright against the orange, so I toned it down by dying the paper with tea!

Here’s a little how-to if you want to try it for yourself:

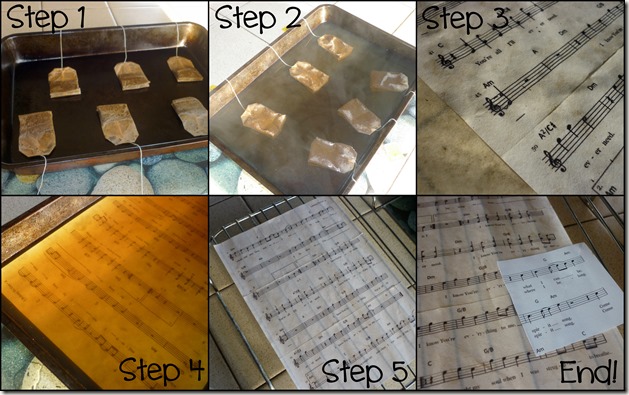
201305

  • Step 1: I used already-used tea bags – I didn’t want to waste good tea bags in case it didn’t work! I laid them out in a paper-sized baking tray
  • Step 2: Cover with boiling water and leave to stew until you like the colour of it
  • Step 3: To prepare the paper I dabbed one of the tea bags all over the page, which added to the texture too, as some of the tea leaves stuck
  • Step 4: Soak the paper for 15-20 minutes – the longer the better! (You may have to press the paper down until it has soaked through a bit, so it doesn’t keep floating to the top, although make sure it doesn’t stick to the bottom of the tray!)
  • Step 5: Once the desired colour is achieved, lay out to dry on a cooling rack overnight

The last picture shows the difference between the beginning and end result – exactly what I wanted!

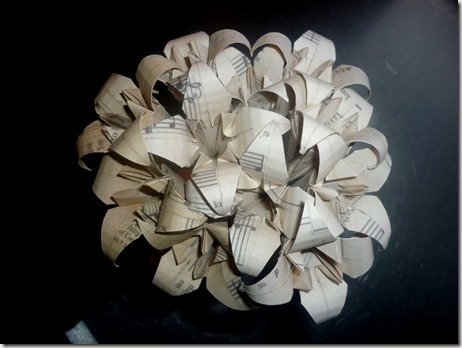
They look fantastic all folded up into flowers…

P1050759

P1050762

…ready to add to the bouquet!

Next on my wedding list: now that our ‘Save the Dates’ are out, I have to start thinking about invitations! And buying bridesmaid’s dresses, and booking cars, and sorting out a timeline for the day – the list goes on and on!

(Sweet side note – the sheet music I used is the song that Mr EP and I first played together in our worship band, a few days before he asked me out!)

εїз

Kusudama flowers (part 1)

While looking at options for making my own bouquet I was inspired by this pin – fabric flowers with a knitting needle as a stem!  I decided to put my stash of excess knitting needles to good use…

My collection of straight knitting needles!

(it was a good excuse to organise them really!)

… and try them out as stems for the kusudama flowers I’ve been wanting to try for a while, using some of the leftover sheet music from my last origami project.

Kusudama flowers in progress

I used this tutorial – best one I’ve seen – and it worked out well that the tops of the knitting needles stick out the top of the flowers.  The petals took a while to make – not long to fold, but waiting for the glue to dry.  I wish I’d used a hot glue gun instead of PVA – the petals would probably stick better to the plastic needle too.

Kusudama flowers in progress

Kusudama flowers in progress

I think I will try these out again with a hot glue gun to see the difference, before I decide whether to use these flowers for the wedding bouquet.  More photos of the finished project to come, once the glue is fully dried!

Origami flowers

I’ve been thinking about the idea of substituting real flowers for paper flowers at my wedding, to cut down on costs.  Let me know what you think…

To try it out I used a pile of old sheet music to make lillies, which we were already thinking about for the flowers.  I also liked the look of the carambola flowers, and though slightly tricky the first time they got easier to make.

P1040521

P1040523 P1040524 P1040526 P1040527

P1040528

Here’s the YouTube tutorial for the lillies, and here for the carambola flowers (yes its in German, but you can still follow what she does!)

When I get some glue and find some more time I want to try out these kusudama flowers – this bouquet with the buttons, and this one made out of sheet music – maybe even make them into a traditional kusudama ball for the ends of the aisles like this!  Here’s the tutorial I found at Folding Trees.

Stay tuned for more sheet music crafts, I have lots left over!

The story of the proposal…

For those of you who don’t know (though if you’re on Facebook you couldn’t have missed it!) – Andrew and I got engaged on the weekend!

From Drop Box

I had been helping out with catering at a wedding with Becs during the day, and our plan was to go out for cocktails that night.  When we’d finished at the wedding we went back to her place to doll ourselves up, then popped into see mum and dad and have something to eat before heading into town.  While mum was fixing my dress, I felt hands come around my middle! I turned around and thought, “oh, its Andrew”, because he hugs me like that often – only to do a double-take and think, “OH – ITS ANDREW!” I wasn’t expecting to see him at all!

It turned out he’d flown down during the afternoon and was waiting for me to come home so he could take me out, since it was my birthday the next day.  We were driven into town and ended up at Soi, a beautiful restaurant on the Wellington waterfront.  He’d booked us a quiet little table for two, tucked in the corner with the best view of the harbour. Amazing food! And he’d even brought a bottle of champagne with him!  Once we’d finished eating we sat talking for a while – unbeknown to me, he was waiting for all the other diners to leave! Once the restaurant was quiet he said, “well, there’s another reason I wanted to take you out tonight…” and came round to my chair, got on one knee and asked me to marry him! Yay!  I said yes, of course, and when we got home after a nice little walk along the waterfront, my family was waiting for us with more champagne. Such a great night, it was perfect! As for the ring, it’s a princess-cut 1.2 carot diamond, with four smaller diamonds on each side, set in 12 carot white gold (and if you look at it upside down, the claws are in the shape of an A!)

For my birthday we went out for a big family dinner, then went back to the waterfront afterwards for an impromptu engagement photo shoot – here are some of my favourites; photo credit to Becs.